Decision 01 · Pause at 00:01.2
Create space before the overhead
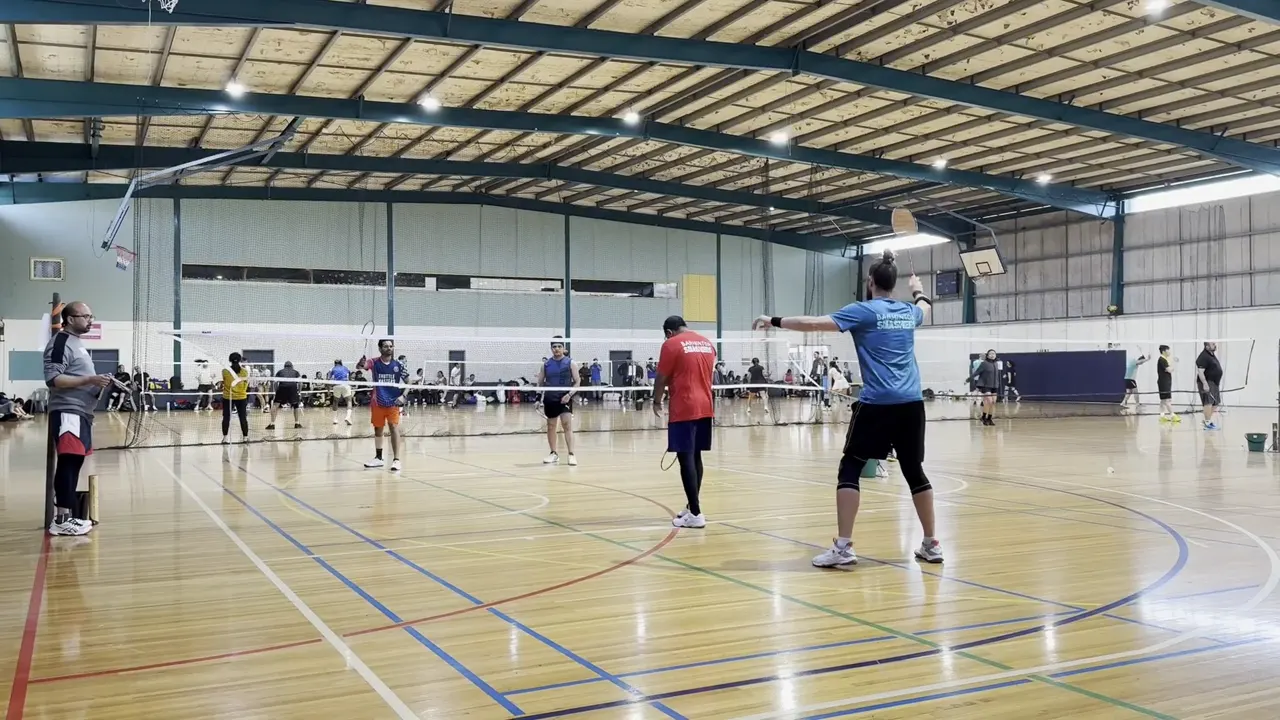
What we can see: Blue prepares a high racket action while red is further forward. The pair are not both trying to occupy the same hitting space.
The decision: Can the hitter make a controlled downward reply, or would a deeper, higher shot give the pair more time? Balance, contact height and the opponents’ readiness matter more than simply hitting hard.
The partner’s job: Read the quality of the reply. A front-and-back attacking shape can be useful when your pair can hit down; it is not permission for the front player to stand still after every overhead.
Take to court: give your partner room to hit, and stay ready to respond to the shot they actually play.
Decision 02 · Pause at 00:04.6
When stretched wide, choose control
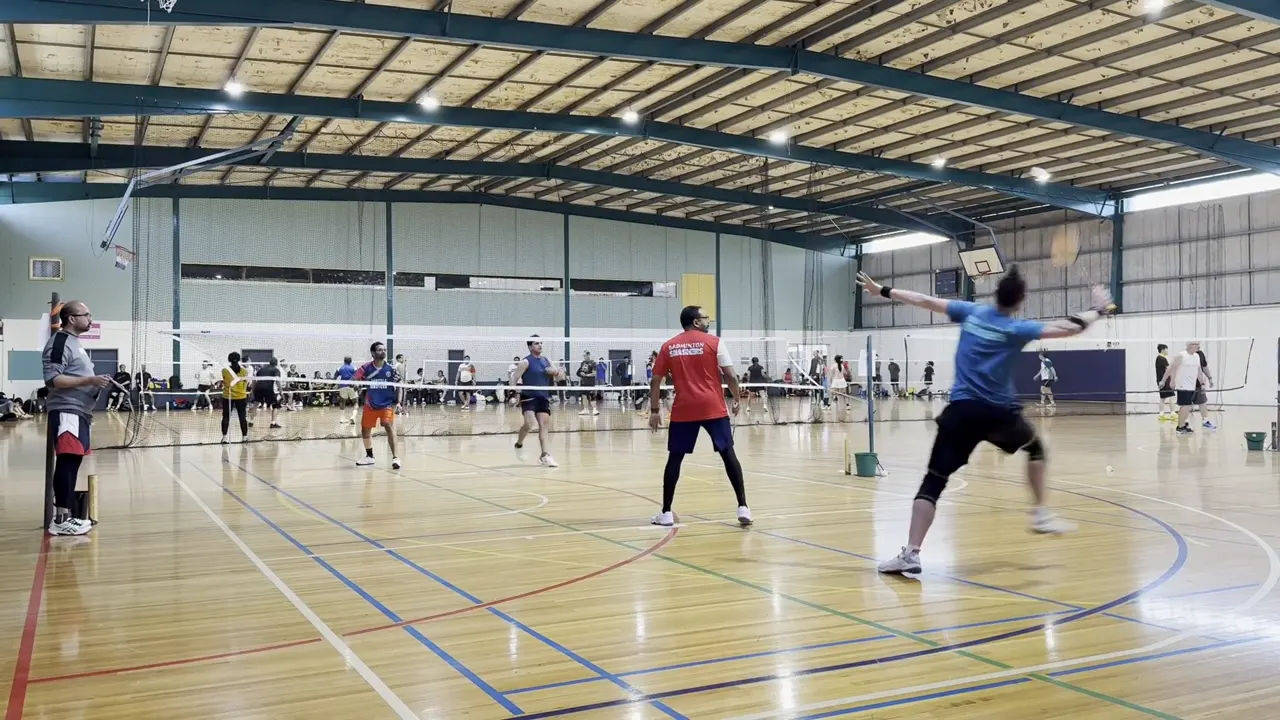
What we can see: Blue has moved sharply to the right and reaches overhead. The body position is more stretched than at the first pause.
The decision: A difficult contact does not demand a spectacular winner. If balanced enough to keep the shuttle low, a controlled placement may be available. If late or off balance, a high, deep reply may buy recovery time—but can also give opponents an attacking chance.
The trade-off: A risky cross-court reply may expose space while you recover. A simpler reply is worth considering when it gives your partner a more manageable next shot. These are choices to assess, not a claim that one particular shot was played here.
Take to court: choose a shot you can control from your actual contact position, not the position you wish you were in.
Decision 03 · Pause at 00:05.6
Recover for the next shot—not the last one
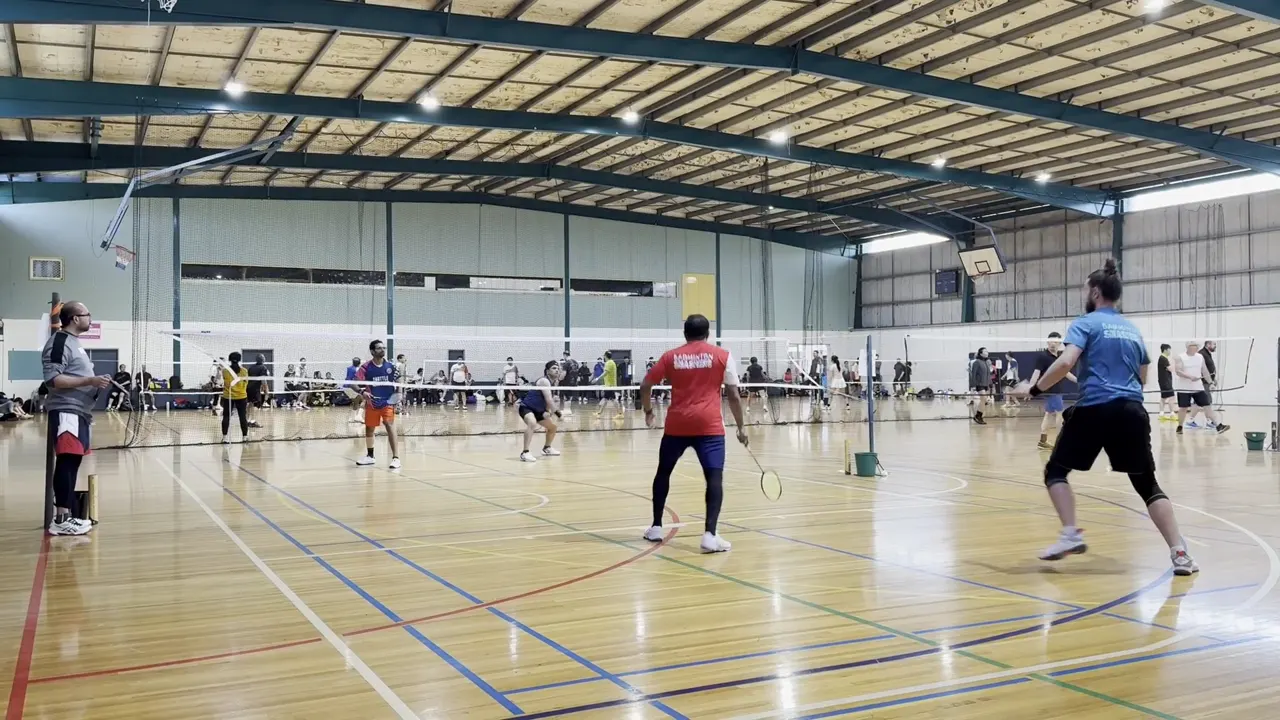
What we can see: Blue remains towards the right after the wide contact. Red has adjusted into a wider ready stance while the opponents continue the exchange.
The decision: Which space needs covering next? Do not both chase the shuttle and leave the opposite space unprotected. Watch the opponents’ next contact and adjust as a pair, rather than automatically running back to a fixed square.
A useful starting point: When opponents have a clear downward attack, side-by-side coverage often helps. When your pair has the attack, front-and-back coverage can help threaten the net and rear court. Real rallies include transitions; neither shape is a rigid rule or a demand for exact symmetry.
Take to court: after your shot, ask “What can they play next, and what is my partner unable to cover?”
Replay it with one question at a time
- First viewing: watch only the space between blue and red.
- Second viewing: pause at 4.6 seconds and choose a reply you could control.
- Third viewing: ignore the hitter for a moment and follow the partner’s preparation.
You do not need to copy the players or judge their level. Use the footage as a conversation starter with your own partner: “If I’m pulled wide, what will you cover?”
Text equivalent of the video annotations
- 00:00–00:03.5: Blue prepares overhead; red stays ahead. Consider an attack if balanced, or a deep reply to buy time.
- 00:03.5–00:05.2: Blue moves wide to reach the next overhead. Consider controlled placement or a higher, deeper reset.
- 00:05.2–00:09: Watch both near-side players. Recover to cover what your partner cannot cover next.
- 00:09–00:12: Replay the sequence: space, shot choice, recovery. The recording is an excerpt, not a full rally.